
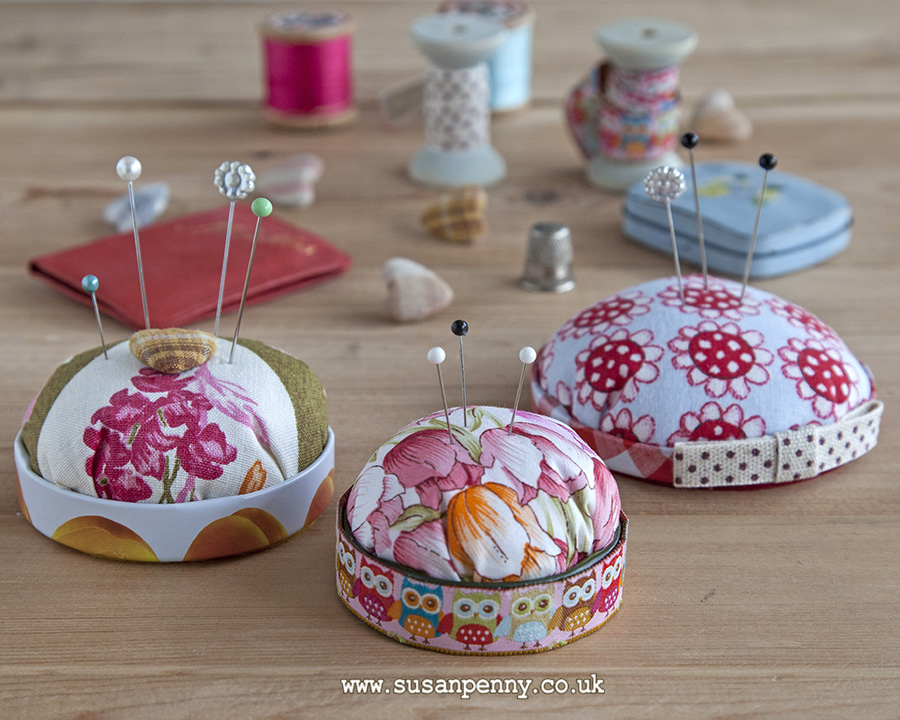
With the end of the school year approaching fast, I thought I would set about creating a simple and inexpensive teacher gift. These pretty pincushions take just a few minutes to make and will use up things you have in your workroom and larder. I used scraps of fabric left over from other projects: one is modern, and the other two are vintage.
You will need:
Jar Lid – washed and dried
Circle of cardboard
Circle of felt
Circle of wadding or soft material
Circle of fabric
Plastic bag containing a small amount of dry rice
Needle and thread
Scissors
Glue
How to make the pincushion
1. Cut out the cardboard using your lid as a template, cutting inside the line so that it fits snugly into the
lid.
2. Cut the felt, again using the lid as a template – as this will be stuck onto the bottom of the
lid to prevent it scratching your work surface, cut it slightly smaller than the lid.
3. Cut the wadding slightly larger than the lid.
4. Using a cereal bowl as a template, draw around the edge and then cut out the fabric circle.
5. Make a row of running stitches around the edge of the fabric circle, and then pull up slightly.
6. Place the wadding in the centre of the gathered fabric circle.
7. Fill one corner of a plastic bag with rice and then tie a knot, leaving enough room for
the rice to spread out when placed in the jar top.[8. Place the rice on top of the wadding, and then the cardboard circle.
9. Pull up the gathering stitches and secure the thread tightly – the fabric needs to be tight
against the rice, while the cardboard circle remains flat.
10. Spread glue on the inside of the jar lid, and then carefully push the covered pincushion down
into the lid. Press down till the glue dries.
11. Glue the felt circle onto the bottom of the lid.
12. If you have printing on the side of your lid you may want to cover it. To do this, either glue ribbon
around the edge of the lid, or make a ribbon bow and glue this to the lid side.
13. You may want to decorate the top and lid side with buttons.


